Hey everybody.
Do you want to maximize the power of OFFICE? Of course you do. OFFICE is the complete design solution for everyone and their daily design needs. It can do it all! And all you need to do is learn how to use it better.
Are you spending money on a “Freelance Designer” or “Agency” to put together your posters, presentations, piecharts and wedding invitations? Why??!?! With a little bit of time and practice, you can design beautiful posters, presentations, piecharts, and wedding invitations yourself. And I guarantee that you might be able to do some other stuff too, like position and crop a photo in WORD… maybe even rotate it or add that extra dazzle of a 3D beveled font inside a starburst.
Excited yet? I bet you are.
Since this is the first instalment in the series, I want to start with the basics. After all, those “Freelance Designers” and “Agencies” didn’t just hang a sign on their door and acquire magical design and communication skills. They had to study typography, branding, positive and negative space, color theory, layout balance, and other artsy fartsty things for years before they could even hope to work for you. They probably even drew naked people in class ;^)
But you don’t have to do any of that. You’ve got OFFICE!! (If you still want to draw naked people, I would recommend choosing your models carefully).
So anyhoo, back to the point of this article. Have you found it frustrating and/or tediously difficult to create quality-looking graphics and layouts within WORD, PPT, EXCEL, PUBLISHER, etc.? Is it still difficult for you to maintain a level of precision in you designs, even though you start from one of the thousands of quality 3rd world downloadable templates that are readily available after you installed OFFICE?
The software is awesome, don’t ever forget that. Many people will try and tell you that “there’s a bug” or “the program can’t do that” and they are WRONG! What you might be missing is one simple little add-on that usually doesn’t ship with the software. I design like a frickin’ genius using the OFFICE package… and there’s a reason for that. I modified my mouse.
It’s a simple fix that took me less than 15 minutes to do. I had to do the work in a well-ventilated space with proper lighting and caffeine, but you can probably make do with lifting the garage door open a crack and a couple of dark roast mochas.
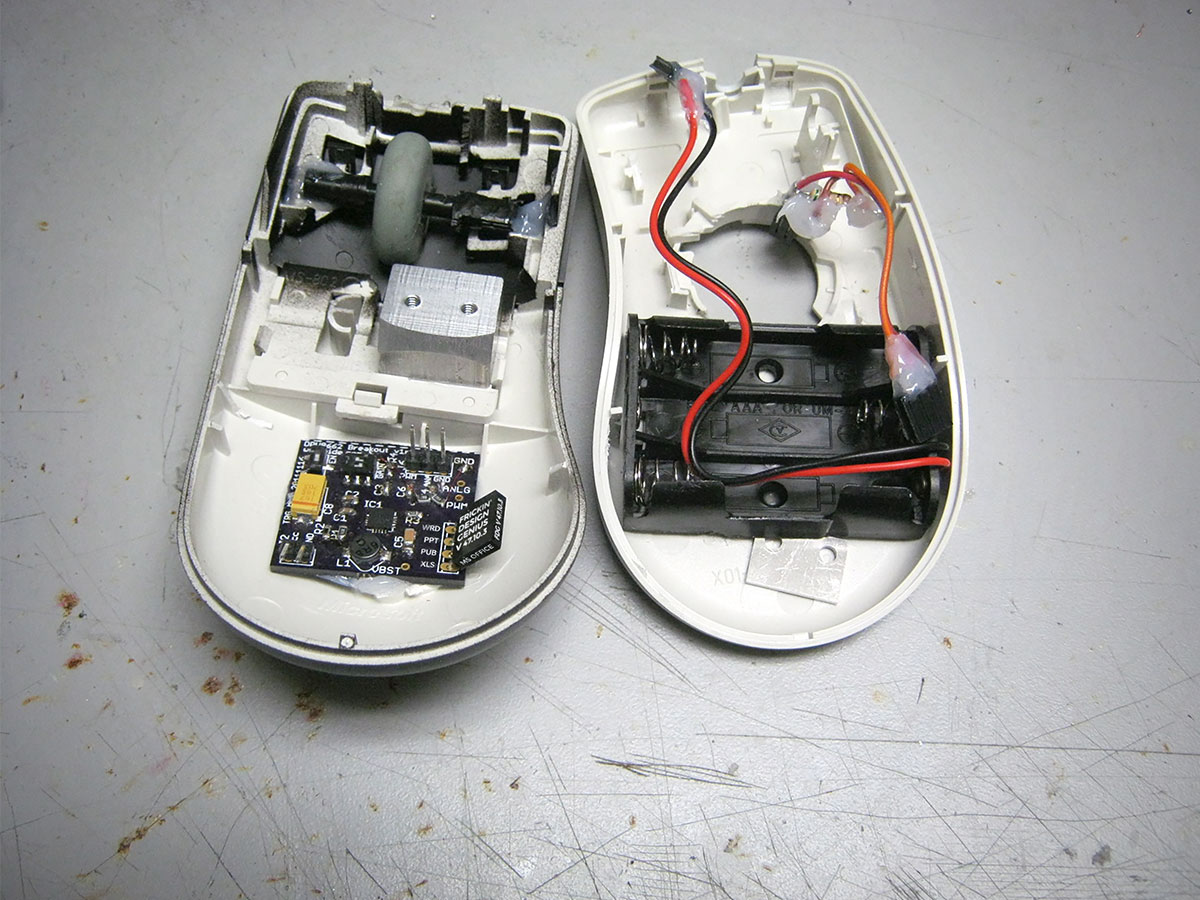
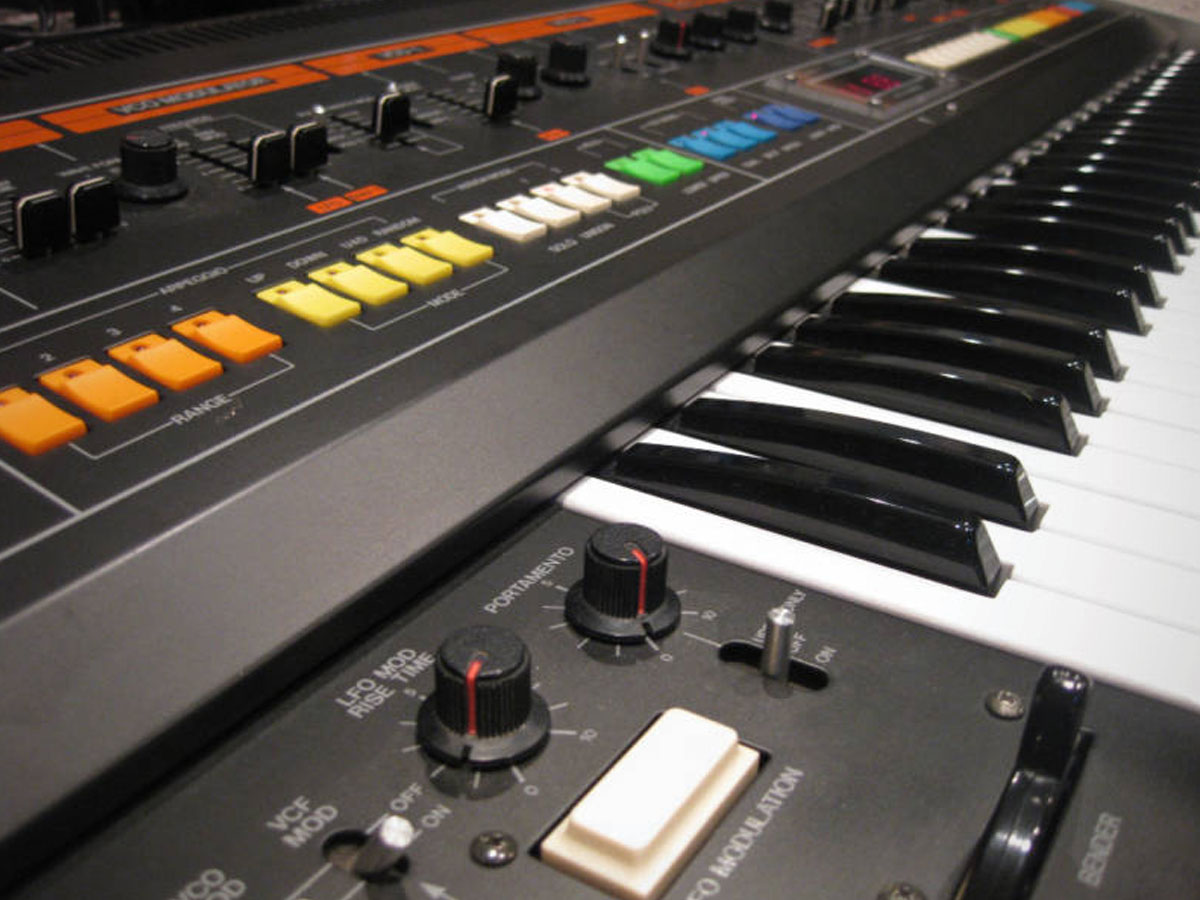
The following image shows you what to check for in your mouse:
This is my mouse. It looks pretty much like every other mouse you can buy out there, but there is one special feature. Yes, it’s wireless, but there is something else. Can you see it yet?
OK, here’s a slightly zoomed-in image that highlights the modification:
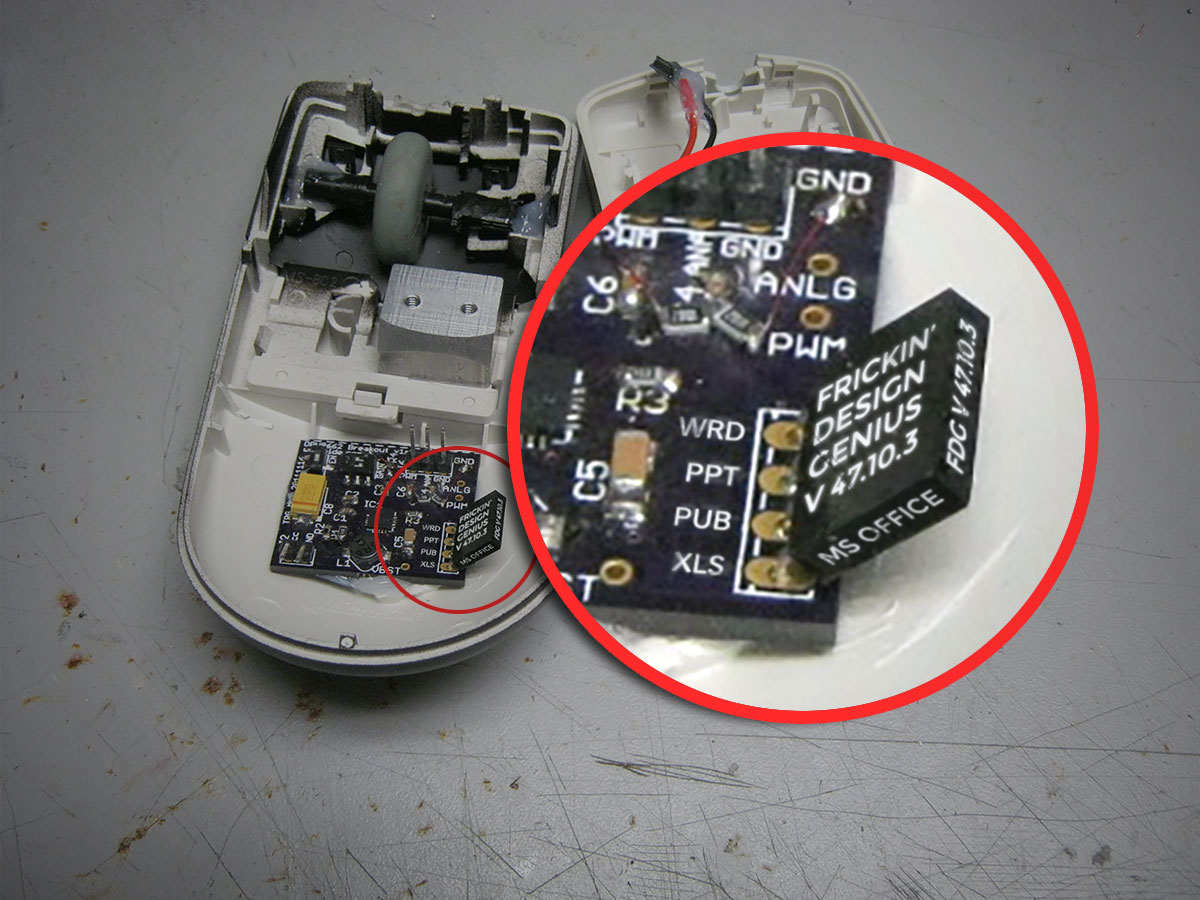
Notice the 4-pin chip that I attached to the main board? Notice how each pin connects to a spot on the mainboard which is already prepared for the OFFICE upgrade? This little chip add-on will give you instant mad skillz in WORD, PPT, EXCEL and PUBLISHER so design tasks like whitespace, proper font sizing and spacing, image alignment and layout balance are automatic and perfect every time. I should mention that it’s extremely important to attach the chip correctly. I know a guy who put his on backwards the first time and the results were hilariously unpredictable. Maybe someday, he and that client of his will get together over drinks and laugh about the time he destroyed their brand reputation for a day… Haha. Good times.
You can find these chips on the interweb, but they are rare. And you need to make sure that you find V 47.10.3 or later. The previous versions were not compatible with hands that had less than six fingers.
Hope you found this tip helpful.
Now get back to work and let’s rock the design world!


Leave A Comment