Did you know that high-quality printing from PPT is an “option”?
Yup, in the day and age where the average phone’s processing power rivals whatever we thought the folks on Star trek were supposed to be using, PPT still won’t print the design you see on screen faithfully because the parent company has decided you, the user, don’t expect “quality” as a base requirement.
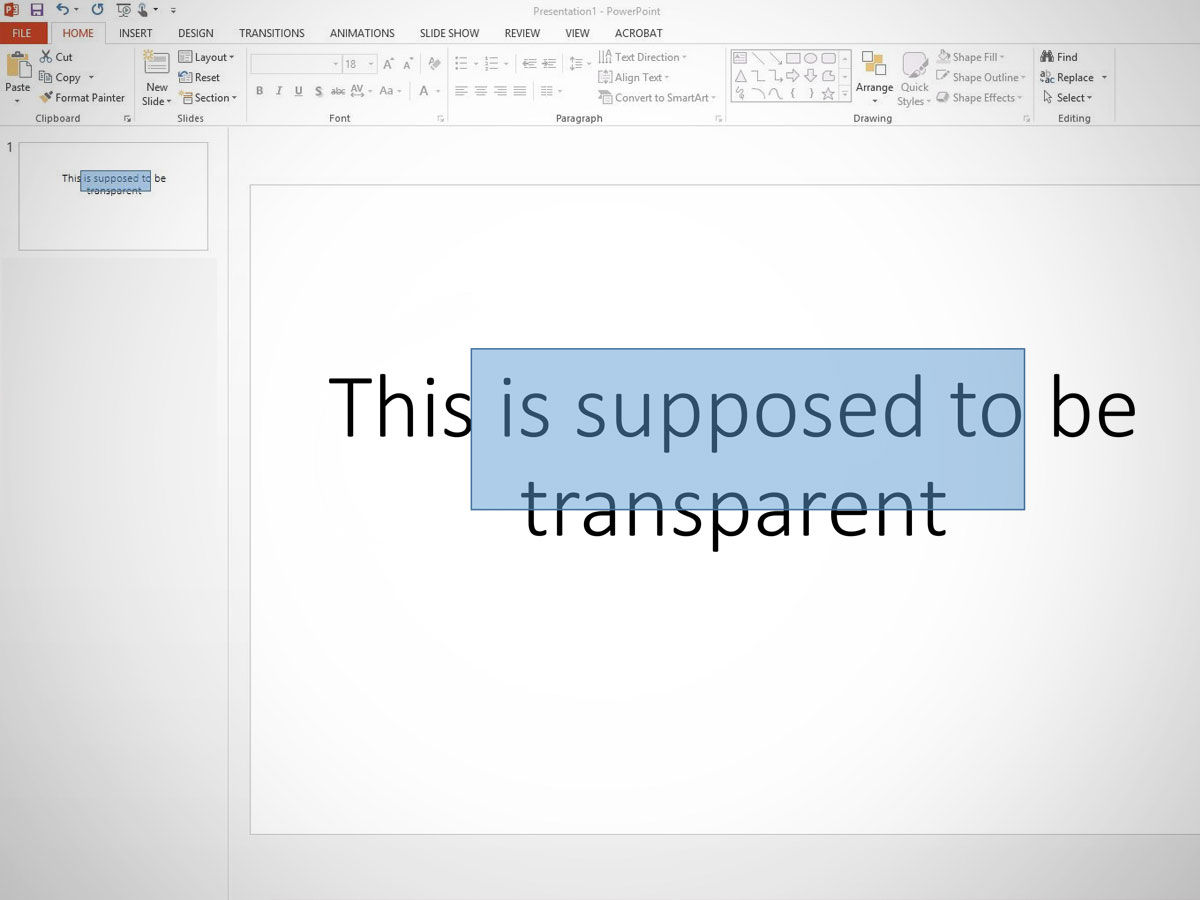
To demonstrate the sheer ignorance of the “They’re-going-to-use-our-program-anyway-so-why-should-we-waste-time-fixing-it?” attitude of the company, I urge you open up a blank slide template and play along with me. Place a box on top of some type or a picture. It really doesn’t matter what you use in the example, so I just typed in some words to hammer the point home.
I should mention that I already know that the article I just linked you to is referring to a situation that existed back in 2003, so you’re probably thinking that the parent company must surely have fixed the problem by now. Well, yes and no… The solution has been available since Office 2003, but remains a hidden option to this day. Remember, they really don’t think you want to print quality stuff. But I digress…
Back to the tutorial. Simply change the fill transparency of the top object to something less than 0%. You should now be able to see the stuff underneath your object at least partially.
Now go to File/Print.
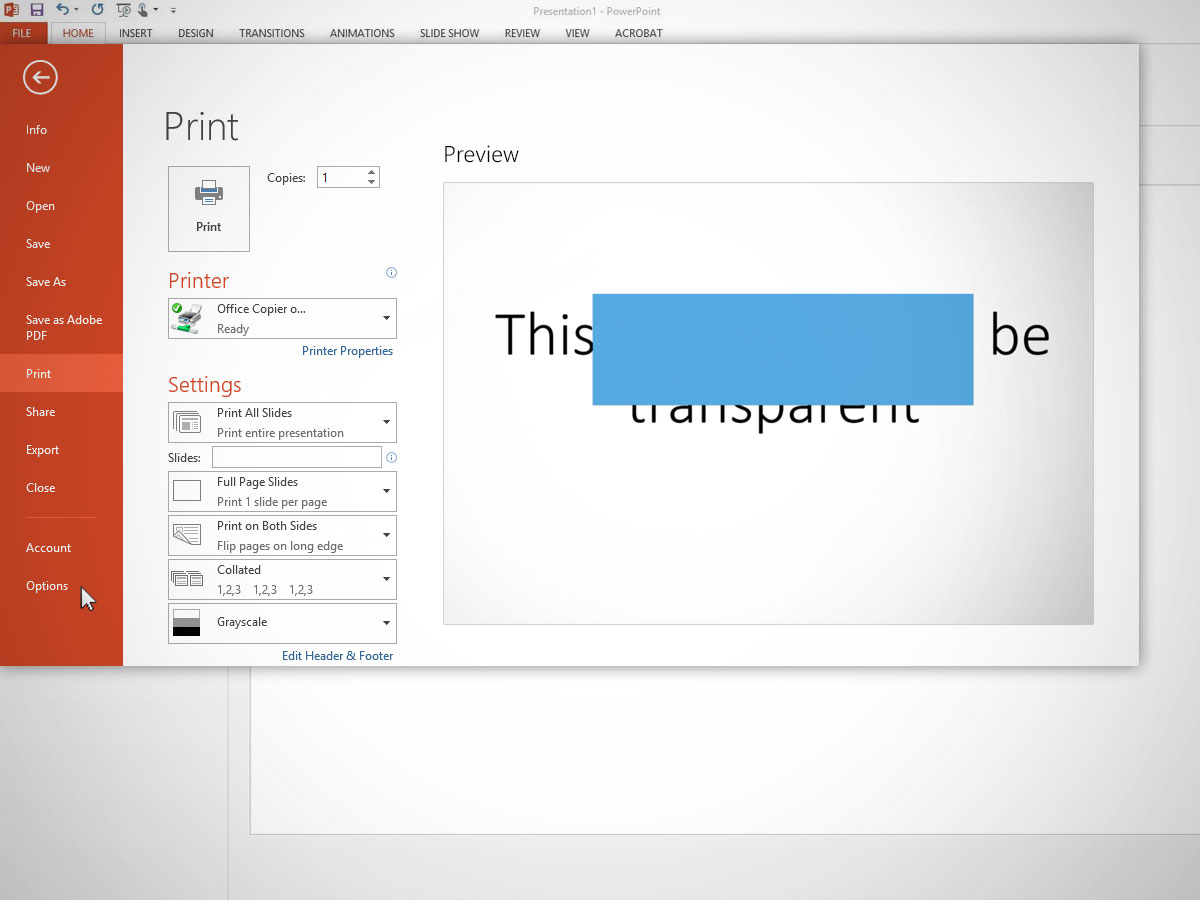
Whoa! Notice how the preview is NOT showing the transparency? WTF?
Relax. You need to do one more thing before you try printing. Go to File/Options
Then click on “Advanced” and scroll waaay down to the “Print” options. Choose “High-Quality”.
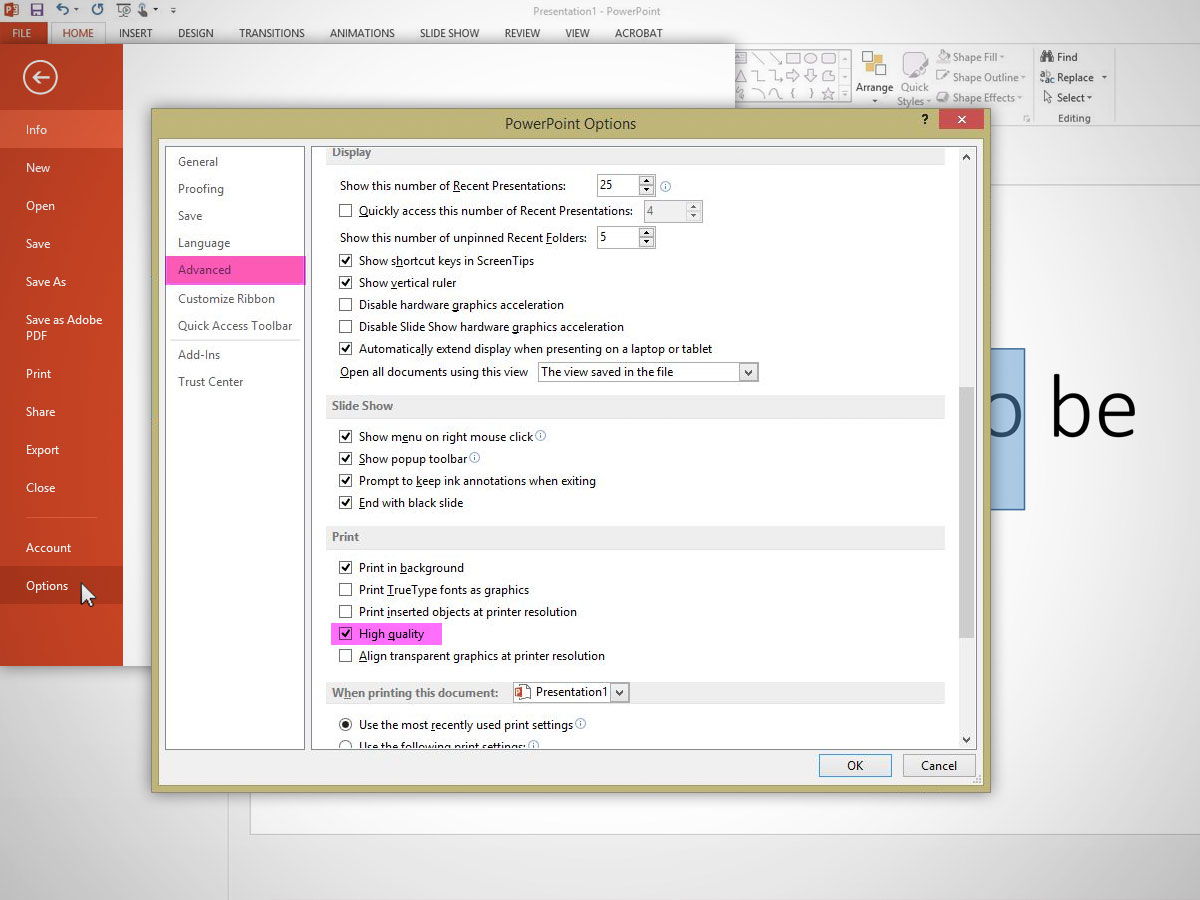
Now your PPT program will actually print like a proper and competent piece of software.
I still don’t understand why these guys can’t just make this option standard. It would save me and every other person in the world a lot of wasted time and paper.


Leave A Comment